The M4 Mac Mini has introduced a notable shift in Apple’s design philosophy by incorporating a removable SSD, offering users the potential to upgrade their storage post-purchase. This development is particularly significant given Apple’s historical trend of soldering storage components directly onto the motherboard, which limited user modifications. However, while the removable SSD presents new possibilities, the upgrade process is intricate and requires careful consideration.
Understanding the M4 Mac Mini’s SSD Design
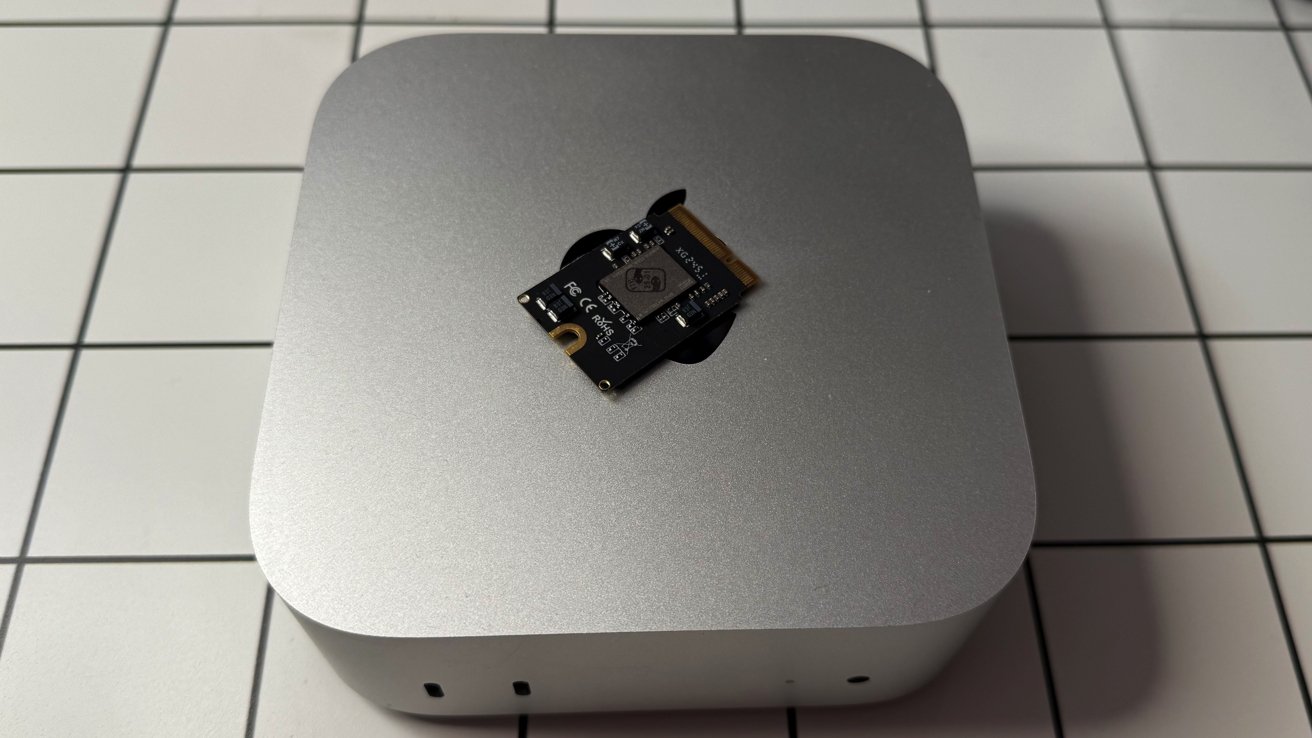
Unlike previous models, the M4 Mac Mini features a slotted SSD, allowing for potential storage upgrades. This design choice marks a departure from the soldered storage of earlier iterations, providing a pathway for users to enhance their device’s capacity. However, it’s essential to recognize that the SSD module in the M4 Mac Mini is not a standard M.2 NVMe drive. Instead, it utilizes a proprietary design where the NAND flash chips are present, but the SSD controller is integrated into the M4 chip itself. This integration means that while the physical replacement of the SSD is feasible, the process involves more than a simple swap.
Challenges in Upgrading the SSD
Several factors contribute to the complexity of upgrading the M4 Mac Mini’s SSD:
1. Proprietary Components: The SSD module’s unique design means that off-the-shelf SSDs are incompatible. Users must source specific modules designed for the M4 Mac Mini, which can be challenging and potentially costly.
2. Technical Expertise Required: The upgrade process involves disassembling the Mac Mini, which can be daunting for those unfamiliar with computer hardware. Additionally, after installing the new SSD, a Device Firmware Update (DFU) restore is necessary to ensure the system recognizes the new storage. This step requires access to another Mac and a thorough understanding of the DFU process.
3. Warranty Considerations: Opening the Mac Mini and replacing internal components may void Apple’s warranty. It’s crucial to weigh the benefits of increased storage against the potential loss of warranty coverage.
Step-by-Step Guide to Upgrading the SSD
For those prepared to undertake the upgrade, the following steps provide a general overview:
1. Preparation:
– Tools Needed: A set of precision screwdrivers, a spudger, and an anti-static wrist strap.
– Backup Data: Ensure all important data is backed up to an external drive or cloud service.
– Obtain Compatible SSD Module: Purchase an SSD module specifically designed for the M4 Mac Mini.
2. Disassembly:
– Power Down and Unplug: Shut down the Mac Mini and disconnect all cables.
– Remove the Bottom Cover: Use a spudger to carefully pry off the bottom cover, exposing the internal components.
– Access the SSD Module: Locate the SSD module, which is typically secured with screws and possibly a protective shield.
3. Replacement:
– Remove the Existing SSD: Unscrew and gently disconnect the current SSD module.
– Install the New SSD: Align the new SSD module correctly and secure it with screws.
4. Reassembly:
– Replace Protective Shields: If any shields were removed, reattach them.
– Reattach the Bottom Cover: Snap the bottom cover back into place.
5. DFU Restore:
– Connect to Another Mac: Using a USB-C to USB-C cable, connect the M4 Mac Mini to another Mac.
– Enter DFU Mode: On the M4 Mac Mini, press and hold the power button while connecting it to power. Release the button when the status light flashes amber.
– Restore macOS: On the host Mac, open the Apple Configurator app, select the M4 Mac Mini, and choose the Restore option. This process will reinstall macOS and prepare the new SSD for use.
Alternative Storage Expansion Options
Given the complexities and potential risks associated with internal SSD upgrades, many users opt for external storage solutions:
– External SSDs: High-speed external SSDs connected via Thunderbolt or USB-C offer substantial storage expansion with minimal setup. While they may not match the internal SSD’s speed, they provide a practical and less invasive alternative.
– Docking Stations with Built-in Storage: Some docking stations, such as the Satechi Mac Mini M4 Hub & Stand, not only expand connectivity options but also include slots for additional SSDs, allowing for seamless storage expansion without opening the Mac Mini.
Conclusion
Upgrading the SSD in an M4 Mac Mini is technically possible but involves a series of complex steps that require technical proficiency and careful consideration of warranty implications. For most users, external storage solutions offer a safer and more practical means of expanding storage capacity. Before proceeding with any upgrade, it’s essential to assess your technical skills, the potential risks, and the benefits to determine the best approach for your needs.