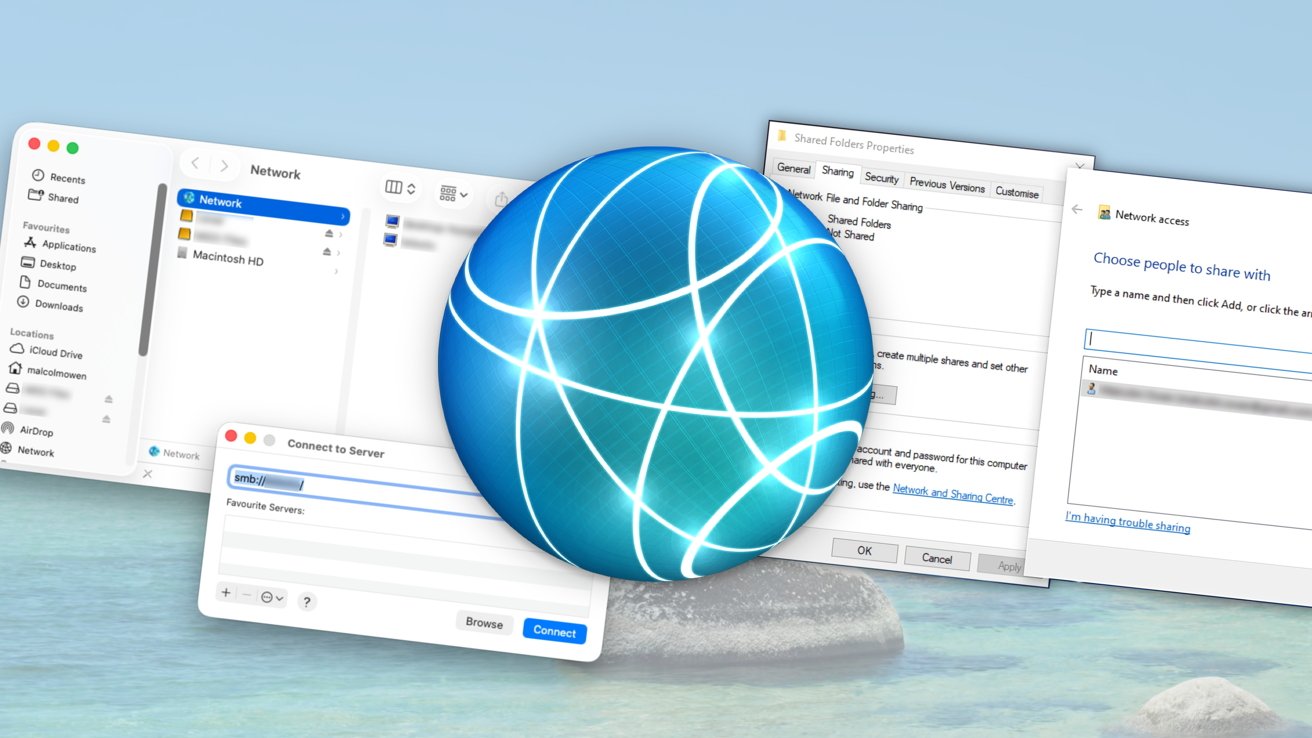
In today’s interconnected digital landscape, the ability to share files between different operating systems is essential. Whether you’re collaborating on projects or transferring personal data, understanding how to efficiently move files between macOS Tahoe and Windows systems can significantly enhance productivity. This guide provides a detailed walkthrough of various methods to achieve seamless file sharing between these platforms.
Enabling File Sharing on macOS Tahoe
To initiate file sharing from a Mac running macOS Tahoe to a Windows PC, follow these steps:
1. Access System Settings: Click on the Apple menu and select System Settings.
2. Navigate to Sharing Options: In the sidebar, click on General, then select Sharing.
3. Activate File Sharing: Toggle the File Sharing option to the On position.
4. Configure SMB Sharing:
– Click the information icon next to File Sharing.
– In the subsequent window, click Options.
– Ensure that Share files and folders using SMB is checked.
5. Set User Permissions:
– In the Windows File Sharing section, select the user accounts you wish to grant access to.
– Enter the corresponding passwords for these accounts and click OK.
6. Finalize Settings: Click Done to apply the changes.
7. Note the Mac’s Network Address: The network address, typically in the format `smb://[IP Address]` or `smb://[Computer Name].local`, will be displayed. This address is crucial for connecting from the Windows PC.
Connecting from Windows to macOS Tahoe
Once file sharing is enabled on the Mac, establish a connection from the Windows PC:
1. Open File Explorer: On the Windows PC, launch File Explorer.
2. Access the Mac’s Shared Folders:
– In the address bar, type the Mac’s network address noted earlier, using the format `\\[IP Address]` or `\\[Computer Name].local`.
– Press Enter.
3. Authenticate:
– When prompted, enter the Mac’s user credentials (username and password) that were configured for file sharing.
– Optionally, select Remember my credentials for future convenience.
4. Access Shared Folders: Upon successful authentication, the shared folders from the Mac will be accessible, allowing for file transfers between the two systems.
Alternative Methods for File Sharing
Beyond the traditional SMB file sharing, several other methods can facilitate file transfers between macOS Tahoe and Windows:
1. Utilizing Cloud Storage Services
Cloud storage platforms offer a convenient way to share files without the need for direct network connections:
– iCloud Drive:
– On Mac: Ensure iCloud Drive is enabled in System Settings under your Apple ID. Place files in the iCloud Drive folder for synchronization.
– On Windows: Access iCloud Drive via a web browser by logging into [iCloud.com](https://www.icloud.com) or by installing the iCloud for Windows application. Once signed in, you can download files from iCloud Drive to your PC.
– Third-Party Services: Platforms like Google Drive, Dropbox, and OneDrive function similarly. Install the respective applications on both devices, and files placed in the shared folders will sync across systems.
2. Using External Storage Devices
For offline transfers or when network sharing isn’t feasible:
– USB Drives or External Hard Drives:
– On Mac: Copy the desired files onto the external storage device.
– On Windows: Connect the device and transfer the files to the PC.
3. Email Attachments
For smaller files:
– On Mac: Attach the file to an email and send it to an account accessible on the Windows PC.
– On Windows: Open the email and download the attachment.
4. Remote Desktop Solutions
Tools like AnyViewer allow for remote access and file transfers between Mac and Windows systems:
– Setup:
– Install AnyViewer on both devices.
– Create and sign in to an AnyViewer account on each device.
– File Transfer:
– On the Mac, open AnyViewer and select the Windows PC from the device list.
– Choose the File Transfer option to initiate the transfer process.
5. Migration Assistant
For comprehensive data transfers:
– On Windows:
– Download and install the Windows Migration Assistant.
– Follow the on-screen instructions to prepare the PC for migration.
– On Mac:
– Open Migration Assistant from the Utilities folder.
– Select From a Windows PC and follow the prompts to transfer data.
Best Practices for Secure and Efficient File Sharing
– Network Security: Ensure both devices are connected to a secure and trusted network to prevent unauthorized access.
– User Permissions: Assign appropriate permissions to shared folders to control access levels.
– Regular Updates: Keep both operating systems and any third-party applications updated to maintain compatibility and security.
– Data Backup: Before initiating large transfers, back up important data to prevent potential loss.
Troubleshooting Common Issues
– Connection Failures: Verify that both devices are on the same network and that the correct IP addresses are used.
– Authentication Errors: Ensure that the correct usernames and passwords are entered. Remember that macOS usernames are case-sensitive.
– Firewall Restrictions: Check that firewalls on both devices are configured to allow file sharing services.
By understanding and implementing these methods, users can achieve efficient and secure file sharing between macOS Tahoe and Windows systems, enhancing collaboration and data management across platforms.


