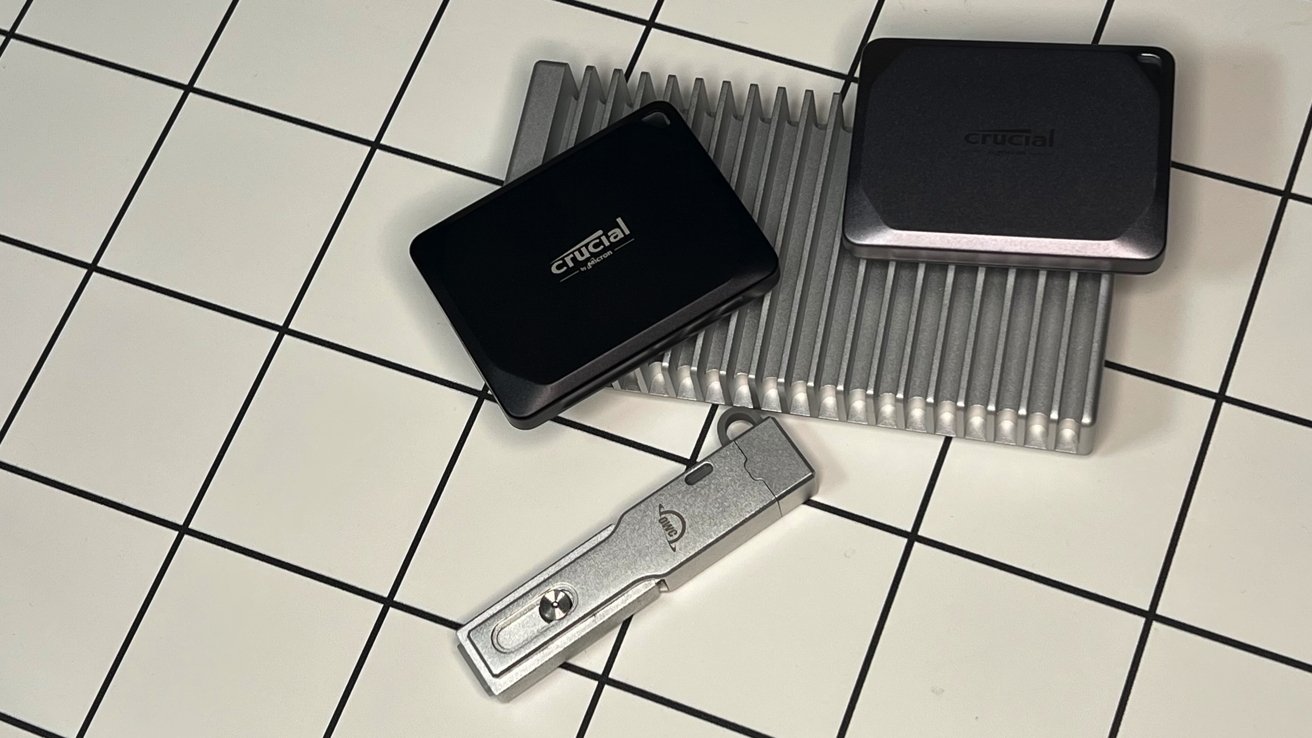
In the evolving landscape of macOS, having an external bootable drive is invaluable for troubleshooting, system recovery, or installing macOS on multiple machines without repeated downloads. With the introduction of macOS Tahoe, the process has seen some modifications. This guide provides a detailed walkthrough to create an external bootable drive using macOS Tahoe.
Understanding the Need for a Bootable Installer
A bootable installer allows users to install macOS from an external drive, which is particularly useful when:
– Performing a clean installation of macOS.
– Installing macOS on multiple systems without multiple downloads.
– Accessing a system that won’t boot from its internal drive.
Prerequisites
Before proceeding, ensure you have:
1. A Compatible External Drive: Preferably a USB flash drive or an external SSD with at least 16GB of storage. Avoid using RAID arrays, as they are not suitable for bootable installations. ([appleinsider.com](https://appleinsider.com/inside/macos-tahoe/tips/how-to-make-an-external-bootable-drive-in-macos-tahoe?utm_source=openai))
2. A Mac Running macOS Tahoe: The system from which you’ll create the bootable installer.
3. Stable Internet Connection: To download the macOS Tahoe installer.
Step 1: Backup Important Data
Creating a bootable installer will erase the external drive. Ensure you back up any essential data from the drive. Additionally, it’s prudent to back up your Mac’s internal storage to prevent accidental data loss.
Step 2: Download the macOS Tahoe Installer
Unlike previous versions, macOS Tahoe may not be readily available on the Mac App Store. To download the full installer:
1. Open Terminal from Applications > Utilities.
2. Enter the following command:
“`bash
softwareupdate –fetch-full-installer –full-installer-version 26.0
“`
This command fetches the full installer for macOS Tahoe version 26.0. Ensure you replace “26.0” with the correct version number if it’s different. ([appleinsider.com](https://appleinsider.com/inside/macos-tahoe/tips/how-to-make-an-external-bootable-drive-in-macos-tahoe?utm_source=openai))
3. Once downloaded, the installer named “Install macOS Tahoe” will appear in your Applications folder.
Step 3: Prepare the External Drive
1. Connect the External Drive: Plug the drive into your Mac.
2. Open Disk Utility: Navigate to Applications > Utilities > Disk Utility.
3. Select the External Drive: In the sidebar, choose the external drive you intend to use.
4. Erase the Drive:
– Click on the Erase button.
– Set the following parameters:
– Name: Assign a name like “MyVolume”.
– Format: Choose APFS.
– Scheme: Select GUID Partition Map.
– Click Erase to format the drive.
Note: Formatting will erase all data on the drive. Ensure you’ve backed up any important files.
Step 4: Create the Bootable Installer
1. Open Terminal: Navigate to Applications > Utilities > Terminal.
2. Enter the Createinstallmedia Command:
Depending on the name you assigned to your external drive, input the following command:
“`bash
sudo /Applications/Install\ macOS\ Tahoe.app/Contents/Resources/createinstallmedia –volume /Volumes/MyVolume
“`
Replace “MyVolume” with the exact name of your external drive if it’s different. ([appleinsider.com](https://appleinsider.com/inside/macos-tahoe/tips/how-to-make-an-external-bootable-drive-in-macos-tahoe?utm_source=openai))
3. Authenticate: You’ll be prompted to enter your administrator password. Note that Terminal won’t display characters as you type.
4. Confirm Erasure: Terminal will warn that the drive will be erased. Type `Y` and press Return to proceed.
5. Wait for Completion: The process may take several minutes. Once finished, Terminal will display a message indicating the installer is ready.
Step 5: Boot from the External Installer
1. Connect the Bootable Drive: Insert the external drive into the Mac you wish to install macOS Tahoe on.
2. Restart the Mac:
– For Intel-based Macs: Restart and immediately hold down the Option (Alt) key until the Startup Manager appears.
– For Macs with Apple Silicon: Ensure the Mac is off. Press and hold the Power button until the startup options window appears.
3. Select the Bootable Installer: From the available startup disks, choose the external drive containing the macOS Tahoe installer.
4. Install macOS: Follow the on-screen instructions to install macOS Tahoe.
Additional Considerations
– Security Settings: On Macs with the Apple T2 Security Chip or Apple Silicon, you might need to adjust security settings to allow booting from external media. To do this:
1. Boot into macOS Recovery by holding Command (⌘) + R during startup.
2. From the Utilities menu, select Startup Security Utility.
3. Authenticate as an administrator.
4. Under External Boot, select Allow booting from external media.
– Data Backup: Always ensure you have current backups of your data before performing installations or system modifications.
– Installer Version: Ensure you’re using the correct version of the macOS installer compatible with your Mac model.
By following this guide, you can create a reliable external bootable drive for macOS Tahoe, providing flexibility and security in managing your Mac systems.


