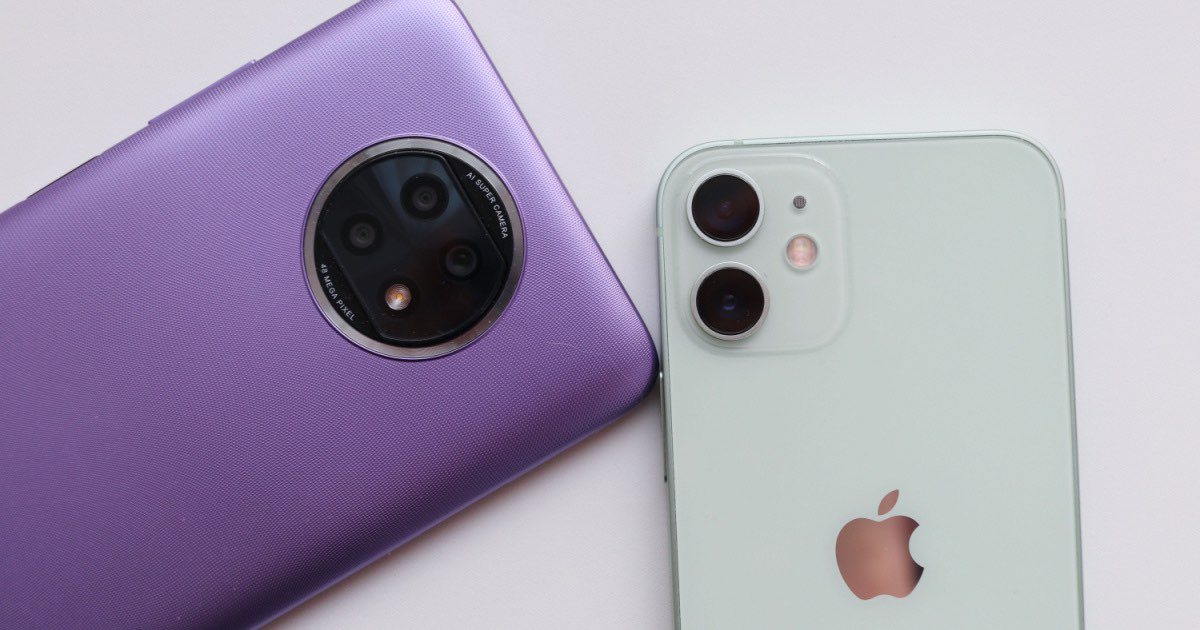
Transitioning from an Android device to an iPhone can be a daunting task, especially when it comes to transferring your valuable data. Apple’s Move to iOS app simplifies this process, allowing users to migrate their content efficiently. This guide provides a detailed walkthrough on installing and utilizing the Move to iOS app to ensure a smooth transition.
Understanding Move to iOS
Move to iOS is a free application developed by Apple to assist users in transferring data from an Android device to an iPhone. The app supports the migration of various data types, including:
– Contacts
– Message history
– Camera photos and videos
– Photo albums
– Files and folders
– Accessibility and display settings
– Web bookmarks
– Mail accounts
– WhatsApp messages and media
– Voice memos
– Call history
– Calendars
Additionally, if certain free apps are available on both Google Play and the App Store, they will be suggested for download on your new iPhone post-transfer.
Prerequisites for Using Move to iOS
Before initiating the transfer, ensure the following:
1. Device Compatibility: Your Android device should be running Android 6.0 or later, and your iPhone should have iOS 9 or later installed.
2. Power Supply: Connect both devices to power sources to prevent interruptions during the transfer.
3. Wi-Fi Connectivity: Both devices should be connected to the same Wi-Fi network.
4. Storage Availability: Verify that your iPhone has sufficient storage to accommodate the data from your Android device.
Step-by-Step Guide to Using Move to iOS
1. Download and Install Move to iOS on Android
– Open the Google Play Store on your Android device.
– Search for Move to iOS by Apple Inc.
– Tap Install to download and install the app.
2. Prepare Your iPhone
– Turn on your new or factory-reset iPhone.
– Proceed through the setup process until you reach the Apps & Data screen.
– Select Move Data from Android.
– A code will appear on the iPhone screen; keep this screen open.
3. Initiate the Transfer on Android
– Open the Move to iOS app on your Android device.
– Tap Continue, agree to the terms and conditions, and grant the necessary permissions.
– Enter the code displayed on your iPhone into the Android device.
4. Select Data to Transfer
– Once the devices are connected, your Android device will display a list of data types available for transfer.
– Choose the content you wish to migrate and tap Next.
5. Complete the Transfer
– Allow the transfer process to complete without interrupting either device.
– Once finished, tap Done on your Android device.
– Continue setting up your iPhone as prompted.
Additional Considerations
– Manual Transfers: Certain items, such as music, books, and PDFs, may not transfer automatically. These will need to be moved manually.
– App Availability: Not all Android apps have iOS counterparts. After the transfer, check the App Store for your preferred applications.
– Troubleshooting: If the transfer process is interrupted or fails, ensure both devices are connected to the same Wi-Fi network, disable any network optimizers on your Android device, and restart both devices before attempting the transfer again.
By following these steps, you can effectively migrate your data from an Android device to an iPhone using the Move to iOS app, ensuring a seamless transition to your new device.