Mastering Northern Lights Photography with Your Android Device
Capturing the ethereal beauty of the Northern Lights, or aurora borealis, is a dream for many photography enthusiasts. With advancements in smartphone technology, particularly in Android devices, this dream is more accessible than ever. This guide will walk you through the steps to effectively photograph the Northern Lights using your Android phone.
Understanding the Northern Lights
The Northern Lights are a natural light display predominantly seen in high-latitude regions around the Arctic and Antarctic. They occur when charged particles from the sun interact with Earth’s atmosphere, resulting in mesmerizing displays of green, purple, and sometimes red hues dancing across the night sky.
Preparation: Setting the Stage
1. Location and Timing: Choose a location with minimal light pollution to enhance the visibility of the aurora. The best times are typically between 10 p.m. and 2 a.m. local time, when the sky is at its darkest.
2. Weather Conditions: Clear, cloudless skies are essential. Check the weather forecast in advance to ensure optimal conditions.
3. Equipment: While your Android phone is the primary tool, consider investing in a sturdy tripod. This will stabilize your device during long exposure shots, preventing blurriness caused by hand movements.
Optimizing Your Android Device
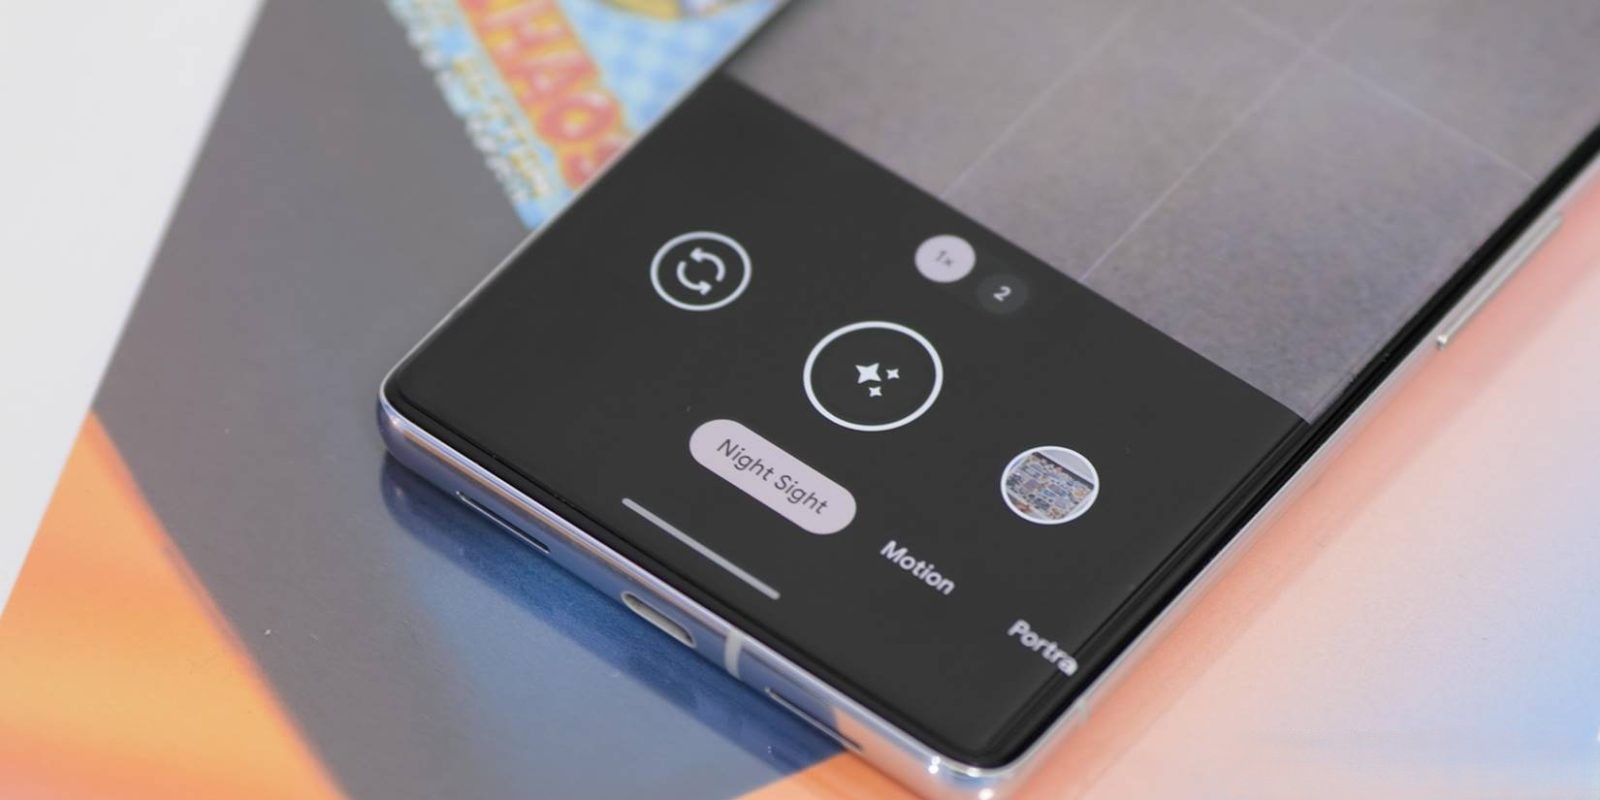
1. Manual Mode: Access the Pro or Manual mode in your camera app. This mode allows you to adjust settings like ISO, shutter speed, and focus manually.
2. ISO Settings: Start with an ISO setting between 800 and 1600. A higher ISO increases the camera’s sensitivity to light, capturing more detail in low-light conditions. However, be cautious, as too high an ISO can introduce noise or graininess to your photos.
3. Shutter Speed: Set the shutter speed between 5 to 15 seconds. This duration allows the camera to gather sufficient light, capturing the movement and colors of the aurora. Longer exposures can result in brighter images but may also capture star trails if not stabilized properly.
4. Focus: Manually set the focus to infinity. This ensures that distant objects, like the aurora and stars, appear sharp and clear.
5. Aperture: If your device allows, set the aperture to the lowest possible number (e.g., f/2.8 or lower). A wider aperture lets in more light, which is beneficial in dark environments.
Additional Tips for Enhanced Photography
1. Use a Timer or Remote Shutter: Even the slightest movement can blur long exposure shots. Using a timer or a remote shutter release minimizes this risk, ensuring sharper images.
2. Turn Off Flash and HDR: The flash can overpower the natural light of the aurora, and HDR might not function effectively in such low-light conditions. It’s best to disable both.
3. Experiment with Third-Party Apps: Applications like Camera FV-5 or Manual Camera offer advanced controls over camera settings, providing more flexibility and customization options.
4. Shoot in RAW Format: If your device supports it, shooting in RAW captures more data, allowing for better post-processing adjustments without compromising image quality.
Post-Processing: Bringing Your Photos to Life
After capturing your images, post-processing can enhance their quality:
1. Adjust Exposure and Contrast: Fine-tune the brightness and contrast to highlight the aurora’s colors and details.
2. Reduce Noise: Use noise reduction tools to minimize graininess, especially if you used a high ISO setting.
3. Color Correction: Ensure the colors appear natural and vibrant. Adjust the white balance if necessary to achieve the desired effect.
Conclusion
Photographing the Northern Lights with your Android device is a rewarding experience that combines preparation, technical knowledge, and a bit of patience. By understanding your device’s capabilities and optimizing its settings, you can capture stunning images of this natural phenomenon. Remember, practice makes perfect. Each attempt will bring you closer to capturing the perfect shot of the aurora borealis.