Mastering the iPhone Air Camera App: A Comprehensive Guide
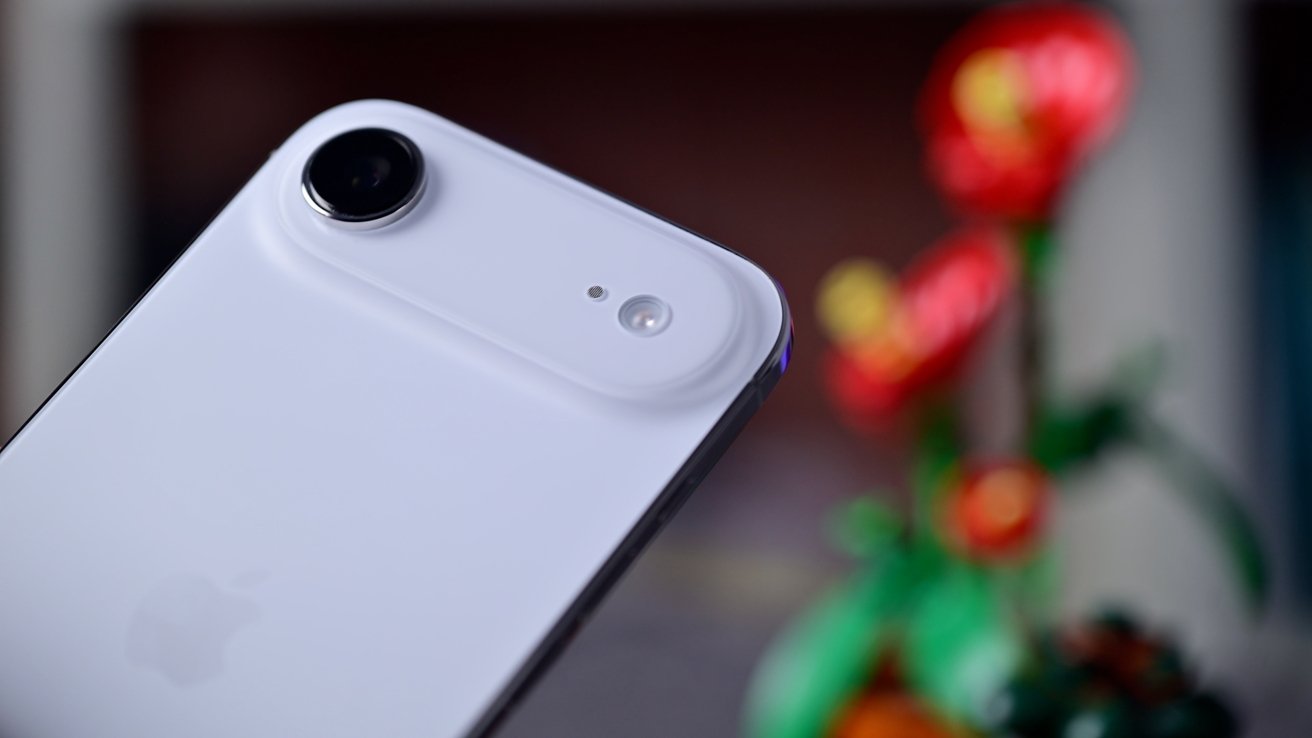
The iPhone Air, equipped with a single 48MP rear-facing camera, offers a robust photography experience. To fully harness its capabilities, it’s essential to understand the various features and controls within the Camera app. This guide provides an in-depth look at how to optimize your photography and videography on the iPhone Air.
Launching the Camera App
Quick access to the Camera app ensures you never miss a moment. On the iPhone Air, the Camera Control button, located on the lower-right edge, serves as a swift gateway. A single press wakes the device, and a subsequent press opens the Camera app. This method allows for rapid photo capture, as the app is ready by the time you raise your phone.
Additionally, the volume buttons can be configured to launch the Camera app. By navigating to Settings > Camera, you can enable this feature, allowing a press of either volume button to open the app. This customization provides flexibility based on user preference.
Capturing Photos and Videos
Beyond the on-screen shutter button, the iPhone Air offers multiple methods to capture images and videos:
– Volume Buttons: Pressing either the volume up or down button captures a photo. Holding the volume down button initiates video recording, stopping upon release. Conversely, holding the volume up button captures burst photos, taking multiple shots in quick succession. These settings can be adjusted in Settings > Camera, allowing both buttons to record video if burst photos are seldom used.
– QuickTake Feature: Pressing and holding the on-screen shutter button starts recording a video. Releasing the button stops the recording. To continue recording without holding, slide the shutter button to the right to lock it. For burst photos, tap the shutter button and quickly drag it to the left; releasing stops the burst capture.
Zoom Controls
Adjusting the zoom is crucial for framing shots:
– Preset Zoom Levels: Tap the 1x or 2x indicators above the shutter button to quickly switch between these zoom levels.
– Granular Zoom Adjustment: For more precise control, tap and hold the zoom indicator, then slide left or right to adjust the zoom level using the on-screen wheel. This method minimizes device movement, ensuring stability, especially during video recording.
Camera App Controls
The Camera app houses various controls to enhance your photography:
– Mode Selection: Swipe left or right on the screen to switch between modes such as Photo, Video, Portrait, and Panorama.
– Focus and Exposure: Tap on the desired area of the screen to set focus and exposure. Tap and hold to lock these settings. Adjust exposure manually by sliding your finger up or down after locking.
– Settings Drawer: Tap the six circles icon in the top-right corner to access additional settings:
– Flash: Set to Auto, On, or Off.
– Live Photos: Toggle between Auto, On, or Off.
– Self-Timer: Choose between 3, 5, or 10-second delays.
– Photographic Styles: Select from Standard, Rich Contrast, Vibrant, Warm, or Cool to apply a consistent look to your photos.
– Aspect Ratio: Switch between 4:3, 16:9, or 1:1.
– Exposure Compensation: Manually adjust exposure levels.
– Night Mode: Control the duration of Night Mode shots, with options varying based on ambient light and device stability.
Advanced Features
To further enhance your photography experience:
– Macro Mode: Ideal for close-up shots, Macro Mode utilizes the ultra-wide lens’s close focal distance. It activates automatically when the subject is near, indicated by a tulip icon. To enable manual control, go to Settings > Camera and toggle on the Macro Control option.
– Action Mode: For stabilized video recording, Action Mode reduces shakes and vibrations. Activate it by tapping the Action Mode icon in the top-left corner when in Video mode.
– Cinematic Mode: This mode adds a depth-of-field effect to videos, blurring the background while keeping the subject in focus. Switch to Cinematic mode by swiping in the Camera app and adjust the focus dynamically during recording.
Additional Tips
– Grid and Level: Enable the grid in Settings > Camera to assist with composition. The built-in level helps ensure your shots are straight, appearing as a thin white line when the device is aligned horizontally or vertically.
– ProRAW and ProRes: For advanced users, enable ProRAW for photos and ProRes for videos in Settings > Camera > Formats. These formats offer greater flexibility in post-processing.
– Shared Library: If using iCloud Shared Photo Library, the top-left corner of the Camera app indicates the current library status, ensuring photos are saved to the correct library.
By familiarizing yourself with these features and controls, you can maximize the potential of the iPhone Air’s Camera app, capturing high-quality photos and videos tailored to your creative vision.