Mastering the iPhone Air Camera App: A Comprehensive Guide
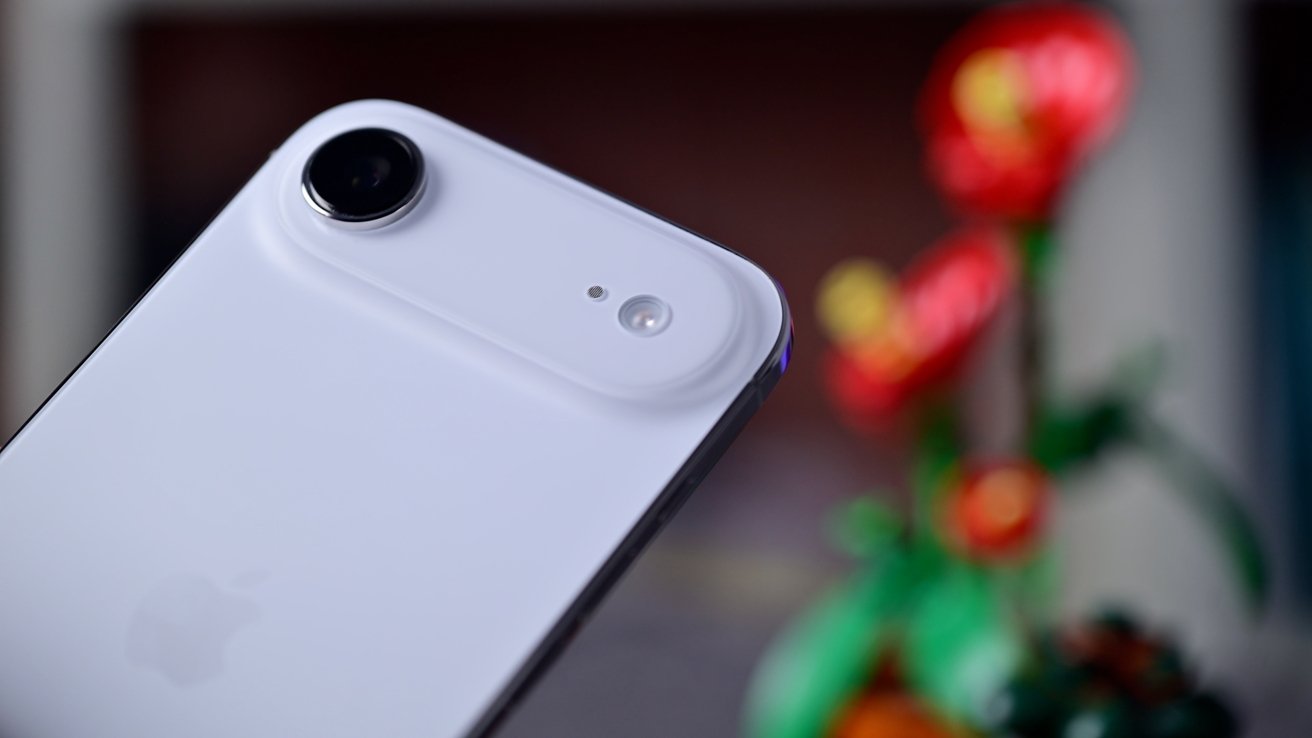
The iPhone Air, equipped with a single 48MP rear-facing camera, offers a robust photography experience. To maximize its potential, it’s essential to understand the various features and controls within the Camera app. This guide provides an in-depth look at how to master the Camera app on your iPhone Air.
Quick Access to the Camera App
Capturing spontaneous moments requires swift access to your camera. The iPhone Air offers multiple methods to open the Camera app quickly:
– Lock Screen Shortcut: From the lock screen, swipe left to open the Camera app instantly.
– Control Center: Add the Camera icon to your Control Center for quick access. To do this, navigate to Settings > Control Center and add the Camera.
– Siri Command: Activate Siri and say, Open Camera to launch the app hands-free.
Capturing Photos and Videos
Understanding the basic controls is fundamental:
– Shutter Button: Tap the on-screen shutter button to take a photo.
– Volume Buttons: Press either the volume up or down button to capture a photo. Holding down either button starts recording a video, which stops upon release. This feature is known as QuickTake.
– Burst Mode: To capture a series of photos in quick succession, press and hold the shutter button, then swipe to the left. The number of photos taken will be displayed on the screen.
Zooming In and Out
The iPhone Air’s Camera app allows for digital zoom:
– Pinch Gesture: Use two fingers to pinch in or out on the screen to zoom.
– Zoom Wheel: Tap and hold the zoom button (1x), then slide left or right to adjust the zoom level precisely.
Advanced Camera Controls
For more control over your photography:
– Exposure Adjustment: Tap on the screen to set focus, then slide your finger up or down to adjust exposure.
– Focus Lock: Tap and hold on the desired focus area until AE/AF Lock appears, locking both exposure and focus.
– Grid Lines: Enable grid lines to assist with composition by going to Settings > Camera and toggling on Grid.
Utilizing Night Mode
In low-light conditions, Night Mode enhances photo quality:
– Automatic Activation: Night Mode activates automatically in dim environments.
– Manual Control: When Night Mode is active, a moon icon appears. Tap it to adjust the exposure time for brighter images.
Portrait Mode
While the iPhone Air lacks a dedicated telephoto lens, it still offers Portrait Mode:
– Depth Effect: Portrait Mode uses software to create a depth-of-field effect, blurring the background while keeping the subject in focus.
– Lighting Effects: Swipe through different lighting effects like Natural, Studio, and Contour to enhance your portraits.
Video Recording Features
The iPhone Air provides versatile video recording options:
– Resolution and Frame Rate: Adjust video quality by going to Settings > Camera > Record Video. Options include 720p at 30 fps up to 4K at 60 fps.
– Slo-Mo and Time-Lapse: Swipe to the respective modes in the Camera app to create slow-motion or time-lapse videos.
– Cinematic Mode: This mode allows for depth-of-field effects in videos, automatically shifting focus between subjects for a cinematic look.
Photographic Styles and Filters
Customize the look of your photos:
– Photographic Styles: Choose from preset styles like Rich Contrast, Vibrant, Warm, or Cool. Access this feature by tapping the arrow at the top of the Camera app and selecting the Photographic Styles icon.
– Filters: Apply filters in real-time by tapping the filter icon and selecting your desired effect.
Live Photos
Capture moments with movement and sound:
– Activation: Tap the Live Photo icon (concentric circles) to toggle the feature on or off.
– Editing: After capturing a Live Photo, you can choose a key photo, add effects like Loop or Bounce, or turn it into a long exposure.
ProRAW and ProRes
For advanced users seeking higher quality:
– ProRAW: Enables capturing images in RAW format, allowing for greater editing flexibility. Activate it in Settings > Camera > Formats.
– ProRes: Offers higher-quality video recording with more editing capabilities. Enable it in Settings > Camera > Formats.
Additional Tips
– Grid and Level: Use the grid to align shots and the level feature to ensure horizons are straight.
– Timer: Set a timer for 3 or 10 seconds to include yourself in photos.
– Burst Mode for Action Shots: Use burst mode to capture fast-moving subjects and select the best frame later.
By familiarizing yourself with these features and settings, you can fully harness the capabilities of the iPhone Air’s Camera app, ensuring you capture high-quality photos and videos in various scenarios.